How do I manage my priorities?
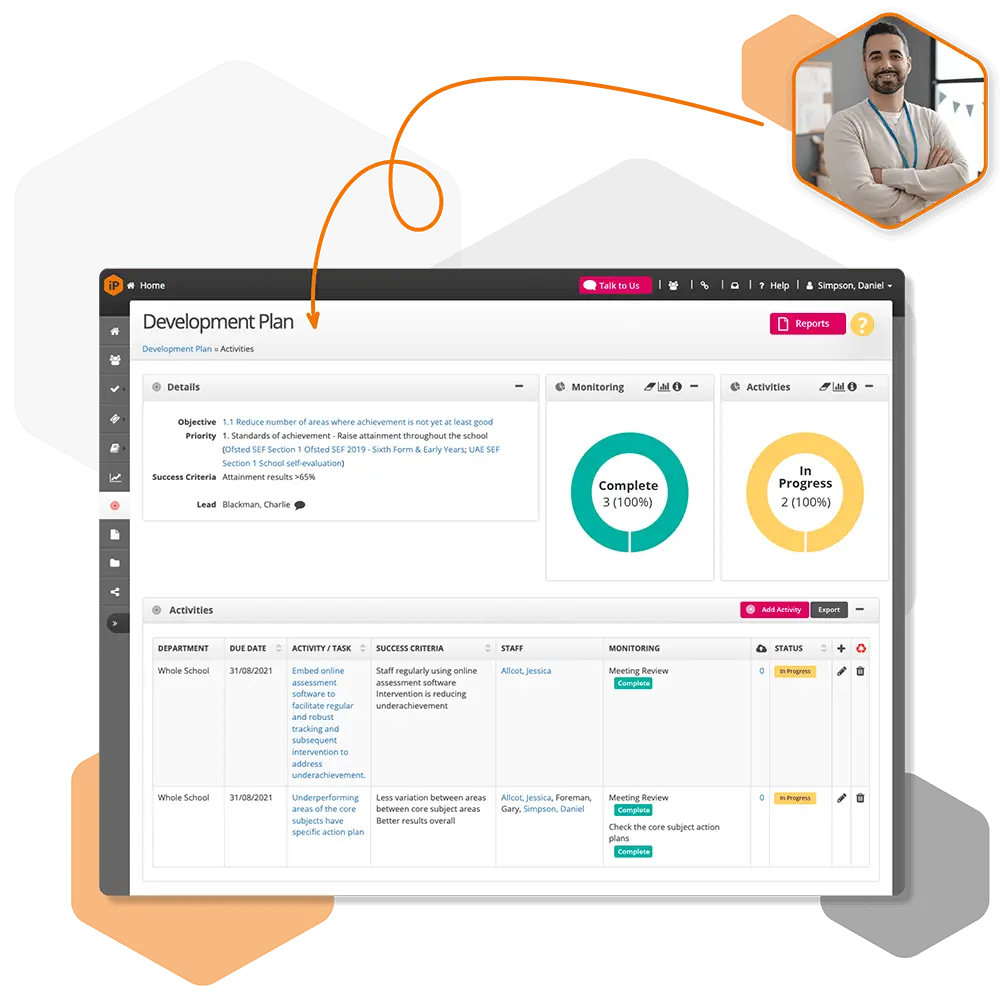
Priorities help you organise and manage the key areas of focus within your organisation's improvement plan. You can add new priorities, update existing ones and arrange them to reflect your organisation's strategic goals.
Each priority can contain objectives, activities and success criteria, helping you structure your improvement plan and monitor progress towards achieving your goals.
Accessing Your Priorities
To manage your priorities:
Navigate to Improvement Plan from the main menu.
Select the Settings cog icon.
Open Priorities to view your existing priorities.
From here, you can add, edit and organise the priorities within your improvement plan.
Adding a New Priority
To add a new priority:
Navigate to Improvement Plan and select the Settings cog icon.
Select Priorities.
Click Add Priority.
Enter a Title that clearly identifies the priority.
Select a Start Date to indicate when the priority begins.
Select an End Date to indicate when the priority is expected to finish.
Select Save to create the priority.
Once saved, your new priority will be available within your improvement plan, ready for objectives to be added.
Editing a Priority
You can update an existing priority at any time to reflect changes to your organisation's improvement plan.
Navigate to Improvement Plan and select the Settings cog icon.
Select Priorities.
Locate the priority you want to update.
Select Edit.
Update the Title, Start Date or End Date as required.
Select Save to apply your changes.
Organising Your Priorities
You can change the order in which your priorities appear within your improvement plan using drag and drop.
Navigate to Improvement Plan and select the Settings cog icon.
Select Priorities.
Locate the priority you want to move.
Click and hold the priority, then drag and drop it into your preferred position within the list.
Repeat as required until your priorities are displayed in the correct order.
This allows you to organise your improvement plan so that priorities appear in the order most relevant to your organisation.
Archiving a Priority
If a priority is no longer required, you can archive it rather than delete it. This allows you to retain historical information while keeping your active improvement plan focused on current priorities.
To archive a priority:
Navigate to Improvement Plan and select the Settings cog icon.
Select Priorities.
Locate the priority you want to archive.
Select Edit.
Turn off the Active flag.
Select Save to apply your changes.
The priority will no longer be active but will remain in the system for future reference.
Restoring an Archived Priority
Archived priorities can be restored at any time if they are needed again.
To restore a priority:
Navigate to Improvement Plan and select the Settings cog icon.
Locate the Restore heading within the Settings menu.
Select Priorities underneath the Restore heading.
A list of archived priorities will be displayed.
Locate the priority you want to restore and select Edit.
Turn on the Active flag.
Select Save to restore the priority.
Once restored, the priority will become active again and will be available within your improvement plan.
What Happens Next?
Once you have created your priorities, return to your improvement plan to begin adding objectives.
Objectives allow you to define the outcomes you want to achieve, while activities and success criteria help you plan the work required and measure progress.
Regularly reviewing your priorities and their dates will help ensure your improvement plan remains relevant and aligned with your organisation's goals.

 For schools and academies
Complete school improvement software to plan, monitor and evaluate with confidence.
Explore SchooliP →
 For multi-academy trusts
Complete trust-wide school improvement software to plan, monitor and evaluate performance with confidence.
Explore SchooliP →
 For further education
Powering quality, compliance and curriculum excellence in colleges.
Explore CollegeiP →